Pages (Click Here to Visit)

Showing posts with label 2015. Show all posts

Friday, November 27, 2015

You Make Me Smile

Good morning everyone!

I'm back today to share with you another layout I have created using the Echo Park 'Pirate's Life' collection. 

My layout has nothing to do with pirates! I wanted to create something that still used the gorgeous bright papers but not necessarily related to the pirate theme!

Here is what I came up with...


I still used the sketch for this months challenge, I did some stamping and I used a song title!


I spent a little bit of time creating my background. I started by covering my Cardstock in transparent gesso. I sprayed and sprayed again. Added Moulding paste, Dylusions paint and stamped. Then in some parts sprayed again until I came up with what I liked...it took a little bit but I'm pretty happy with the end result.

On my tag I have used the chorus of the song Smile by Uncle Kracker and made a feature of the last line of the chorus by adding it to my layout. 


I have used again the Harlequin Clumps on my layout (such awesome value when you can get so many projects from one pack). This time I have left them with a matt effect by inking them with Versamark Ink and not embossed them. 


Materials Used:
Kaisercraft Cardstock - White and Licorice, Kaiser Mists - Red, Yellow and Denim, Prima Colour Bloom - Cobalt, Transparent Gesso, Moulding Paste, Dylusions Paint - Lemon Zest and London Blue, Kaisercraft Clear Stamps - Crackle, tag, bakers twine - assorted colours, black ribbon, Echo Park - Pirate's Life collection - papers, paper pad, element stickers and alpha stickers, 2Crafty Harlequin clumps and Versamark Ink - Cardinal. 

I hope that this has inspired you to get crafting today!

You only have a few days to get your entry for this month in. Make sure you do...nothing quite like winning a prize for doing something you love!


Happy Scrapping!
Melx

Saturday, November 21, 2015

A Pirates Life

Morning everyone,

Mel here today to share more projects using the Echo Park 'Pirates Life' collection. This time around I have done a few little projects that are quick and easy that could be good for those times when you have a bit of a creative block or if you have got limited time or space (going on a holiday and you don't want to take all of your scrapbooking supplies). 

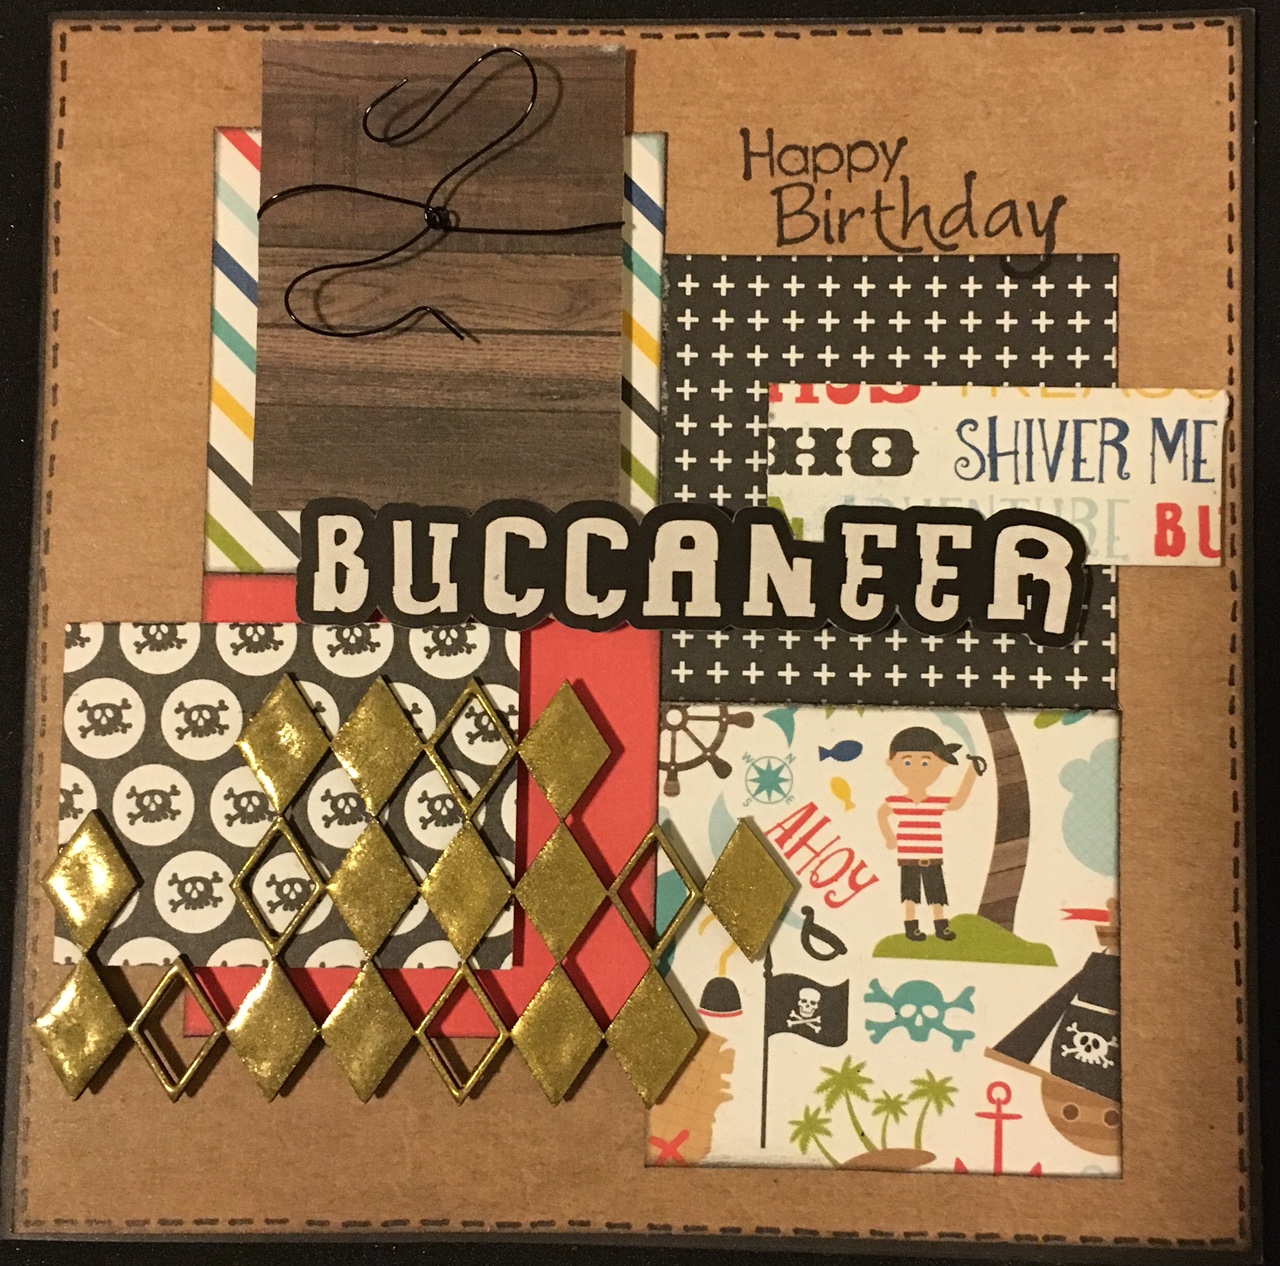
To begin with I have created a birthday card that would be good for a little buccaneer. Which reminds me, Happy Birthday Jo for the 9th of November. I hope you had a great day! For this card I have used a Kaisercraft Kraft Card and have used some off cuts from the 'Pirates Life' 6x6 paper pad. I have used some black wire to create a feature in the left hand corner and have used a Happy Birthday stamp for the sentiment. Again I have used the 2 Crafty Harlequin Clumps as an embellishment which I have inked with VersaMark Gold Ink and embossed with Metallic Melts - Gold Nugget. 

Check out the results...


The second project that I am going to share with you are some quick little tags that could be used for a variety of occasions. 


For the first tag I have used a store bought tag and coloured it using Tim Holtz Distress Ink - Faded Jeans. I have then used patterned paper from the 'Pirates Life' collection and have embellished using stickers from the sticker sheet. I finished it off with some twine.


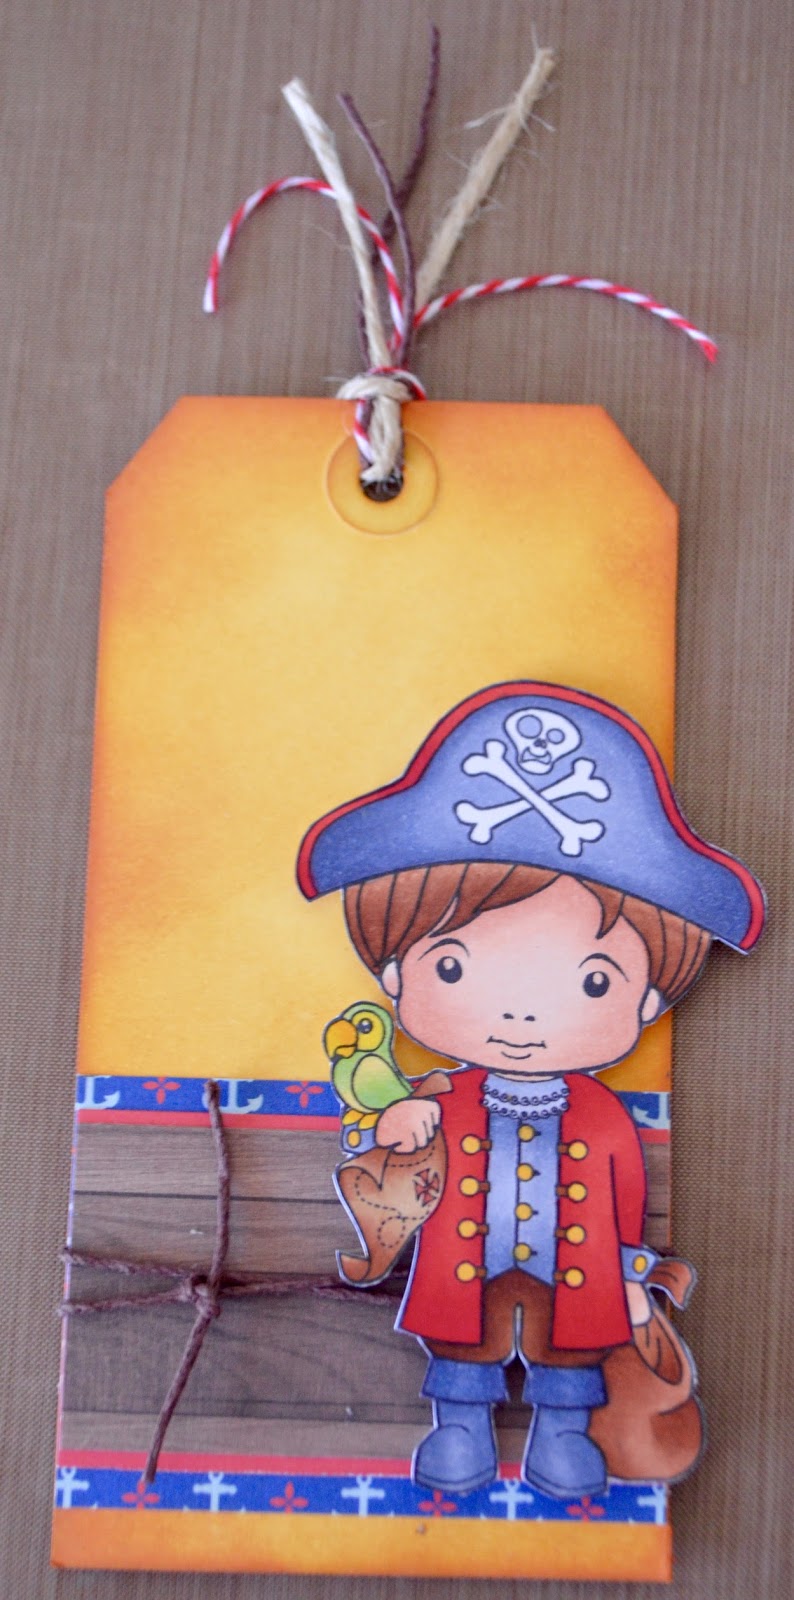
 For the second tag I decided to pull out my Copic Markers and create my little pirate. I have used the La La Land - Luka Pirate stamp. With all the hype around mindfulness colouring books it was nice to know that I didn't have to go out and buy something new to be able to sit and relax and colour in. Again I used a store bought tag and coloured it using Tim Holtz Distress Ink - Wild Honey. A few bits of patterned paper and some twine and I had another tag quickly created. 


For the final tag I have used a store bought tag and coloured it using Tim Holtz Distress Ink - Fired Brick. Again I have used patterned paper from the 'Pirates Life' collection and have embellished using stickers from the sticker sheet. I finished it off with some twine and ribbon.


To create these projects, everything you need you can find at the Scrapbookit Shop - either online or in store. Jo is more than happy to help you out and can post anything you might require. 

I have one more project to share with you but will be back later in the week to show you. Here is a sneak peek! 


I look forward to sharing this layout with you, but for now, have a crafty weekend!

Mel x

Sunday, November 1, 2015

New for November.


Morning everyone,

Well here we are and it's November already and before you know it the kids will be finishing school and the man in the red suit will be dropping down your chimney, (a scary thought).

Today I'm here to share our new challenge for November, I hope you love it, I know I had fun playing along.

Okay this time we have a 1. Sketch, 2. Stamping, and 3.A Song title on your project.

Here is the sketch to follow, Thanks to www.pagemaps.com. 


Now here is my take on the challenge using the new Kaisercraft 'Sail Away' range just released.


For my background I have used the 'Chains Gloss' speciality paper which gives the relief image of the chains. I have used different Dylusions Paint to create the rainbow effect. A piece of Dusty Attic chipboard, a Kaisercraft tag and sticker, collectables from the range and some stamps I had in my stash. I just loved these photo's of mydaughter and her cheeky girl enjoying the sunshine. 


Entries for the challenge are due in by November 30th 2015, either via email or Inlinkz on the side bar. I look forward to seeing what you create.

Well I'm sooo organized this month I have even done the winner of our October Challenge. This months winner thanks to Random.org is Ros Coutts. Congratulations Ros please send your details to joanne@scrapbookit.com and I will get your prize out to you.


Thanks to all that entered our challenge I love seeing how everyone has  different ideas and styles.

Enjoy your long weekend in Victoria,

JO.

Tuesday, September 1, 2015

Silver Bells - A Touch of Christmas!

How scary is this???
It is September!!!!!

I can't believe it! The first day of September, where has this year gone?

This month I am here to share with you the gorgeous Kaisercraft Silver Bells collection.
A very different Christmas collection that I have enjoyed using.

This month our challenge is purely one word ~ Christmas.
All you need to do is create a project with the Christmas theme.

You will fall over (again!) but yes I have made a collection of cards to begin this Christmas themed challenge.

Whilst at the Kaisercraft Retailers Days Kylie Obst shared some cards with us using this range. Whilst some of these cards I have made as per her class, others I have fiddled with to make my own version.

The first card I have left without a sentiment because I will wait until I have an occasion to use it....it could be for Christmas but I like to think that it may be better for a birthday card!


The next two are tag cards. We cut a Kaiser Card in half to create these cute little cards.
You can create any decorative edge to dress the cards up. I just used some of the die cut borders from the paper pad but you could also use a punch.


Here are the rest of my cards...


How gorgeous are those foil based feature papers? They enhance that Christmas feel.


This month I decided to do something a little different to add to my cards. I decided to be a little creative and make a Christmas canvas.

Here is my canvas...


I started with a blank canvas and used my Gelatos to create the background by colouring and blending with water.

I then used some Gel Medium and created a pattern that is almost like shattered glass. This was a template that I had in my collection. I loved how this turned out.
I have used some older Kaisercraft Clear Stamps as well as some others I had in my collection to randomly stamp images. As you can see I didn't really mind that they didn't all stamp perfectly.


I then used some of the Silver Bells collection and layered to create the 
feature in the centre of the canvas.


Part of this was using an old Christmas Tree clear stamp I had in my collection. I stamped this onto the Silver Bells patterned paper and used it as a little feature.

I fussy cut some of the gorgeous foil embossed baubles out and layered them alongside the tree - they are so pretty!
And of course some bling to hang them with.


The doily I have changed the colour of using my 
Metallic Silver Gelato ~ just like a crayon.


The 'Merry Christmas' is one of the Kaisercraft 'Merry Christmas' Clear Acetate Stickers.
These are great...especially for card making.


Well, that is all I have to share with you today.

I hope that I have inspired you to join in with our monthly challenge this month. 
Who knows you could be the winner of the awesome Scrapbookit prize pack?
Even better you have made a start to Christmas...less than 4 months to go now!!!!!

Make sure you pop back in over the coming weeks to see what else we have to share with you...I believe a Guest Designer is making an appearance this month!

Until my next post,

Happy Scrapping!

Melx


Friday, August 14, 2015

Time Machine

Morning Everyone,

I'm here today to share with you some more of the AWESOME Time Machine collection.
As I have said previously,  Jo and I were lucky enough to have a sneak peek and a chance to use this collection at the Kaisercraft Retailers Days in July.

We got to spend some time with Melissa Kennedy from Kaisercraft Australia in a workshop.
Today I will share with you the two layouts I created at these days.
They fit so perfectly with this month's challenge...Mists, Memories and Masculine.

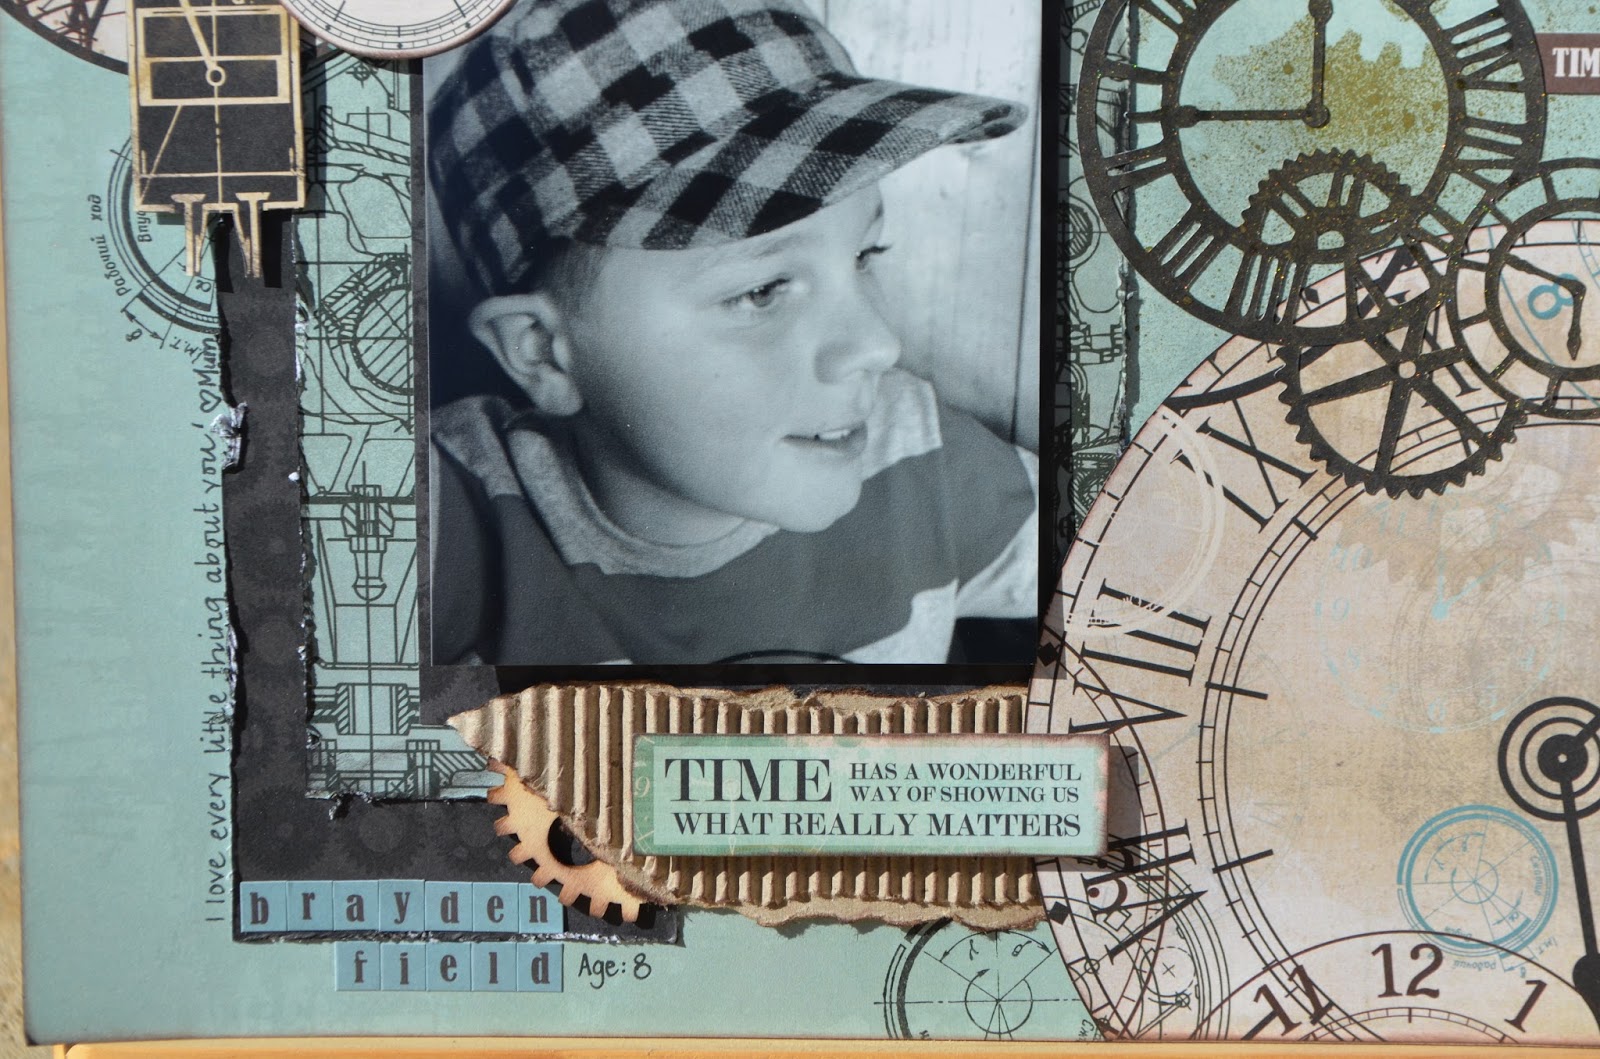
Here is my first layout..."This Is Why I Love You"


We have used the NEW Kaisercraft collection Time Machine including the collectables and the sticker sheet, the Kaisercraft Template - Cogs, Kaisercraft Mists - Antique Gold, the NEW Time Machine Clear Stamp, the NEW Kaisercraft Die Cogs and Clocks (which Melissa so kindly cut out for us!) and some Cog Wooden Flourishes. We also used inks and corrugated cardboard.

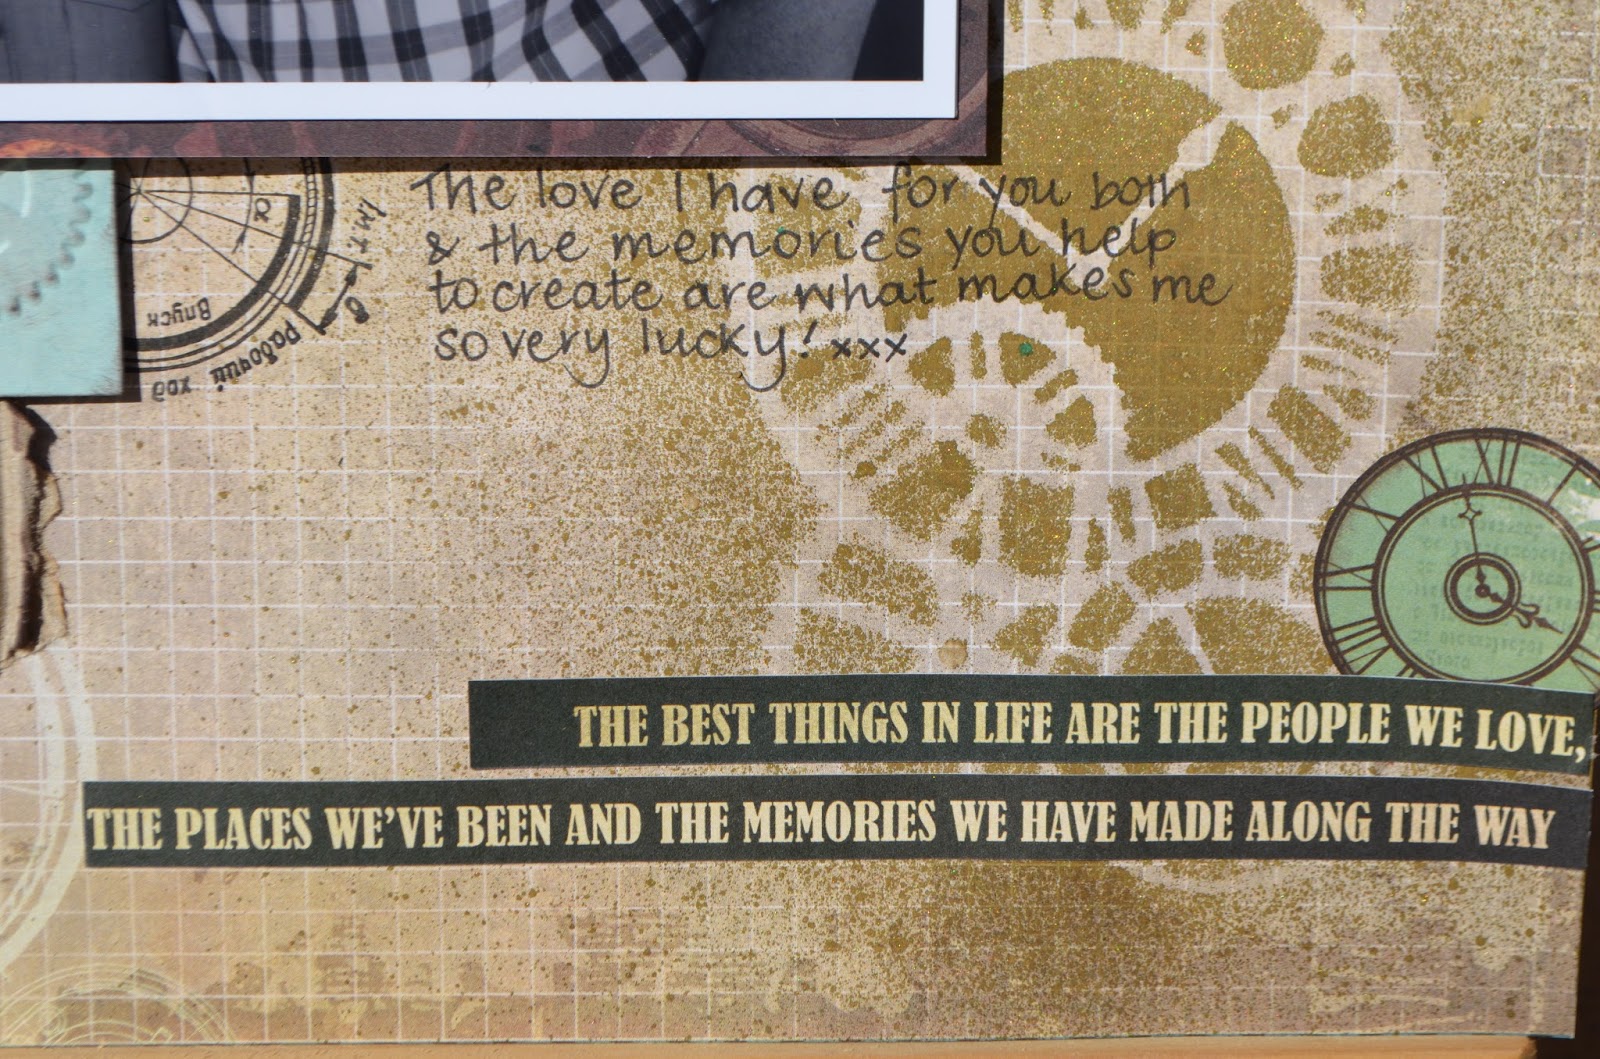
Here are some close ups...


You may have noticed in the above close up...the die cut piece looks as though it has a gold tinge to it. Well, that is because Melissa Kennedy has this great way of using products for several layouts. Because we were working on the two layouts at the same time we could use the die cut as a template on one layout and then use it as an embellishment on the other!

Which is a great way to introduce my second layout....'Remember this...'


I have used all of the same products for this layout as I did for the last. However, Melissa did supply us with an embossed piece of card with cogs. We used ink softly over the embossing to enhance the designs.

Here are some close ups...


Can you see in the above close up where we have used the Cog Die Cut, from the first layout, as a template?


The wooden flourish - Cog that you can see here has been sprayed with KaiserMist and then inked. I love this effect.

I don't know about you but I LOVE these papers!
They are so easy to use, so versatile and create awesome layouts.

Thank you to Melissa Kennedy for such great ideas for these layouts.

Make sure you pop in to the online store OR in person to grab some of this paper from Scrapbookit. It will fly out the door - so get in quick!

Don't forget you have until the 30th of August to get your entries in to win a Scrapbookit prize pack! Can't wait to see what you create!

Look forward to sharing some more projects with you before the end of the month.

Until then...Happy Scrapping!

Melx

Thursday, July 23, 2015

Made of Awesome

Good morning everyone...Mel here!

Back to share with you this morning some more of 
Made of Awesome by Cocoa Vanilla.
I seriously LOVE this collection!

I have two projects to share with you today.

The first is a layout following our challenge guidelines for this month...

FUN, Flairs and Frames

My layout is of a "selfie" taken at the Big Day Scout event in Melbourne in February. The Chief Commissioner for Scouts Victoria loves to get selfies wherever he goes. So we were lucky enough to get one with him.

Here is my layout...


I have used some Kraft cardstock, the gorgeous Made of Awesome collection, the sensational wood veneers, some of the die cut ephemera, the cute flair buttons and the alphabet stickers all from the Cocoa Vanilla Made of Awesome collection.

Here are some close ups...


I set myself a challenge with some of the off cuts from this collection.
I decided to make a card but was only able to use whatever was cut. I was not allowed to cut into larger sheets of paper.
Look at all of the off cuts!!!!! 


Here is the card that I have created.
The only extras that I added were the Alphabet stickers, the wood veneer, some die cut ephemera, the flair button and the enamel dots.


 Thanks for stopping by today and checking out what I have been creating.

I do have another layout using this collection but I'll come back later on to share that.

Don't forget if you love this collection to talk to Jo @ Scrapbookit - I think I may even grab another collection - I love it so much!

Entries for this months challenge are due in by July 30th...
have you got yours in???

Have a great day!

Melx


Wednesday, July 8, 2015

Made of Awesome

Morning Everyone,

What a great few days we had in Geelong at the Kaisercraft Retailer's Days. 
We are looking forward to sharing some of the new products with you when they are released.
For now, it is back to reality :(

This month Jo and I are both showcasing Cocoa Vanilla Studio collections for you.
Have you checked out any of Cocoa Vanilla's products or collections?
I think I am in love!!!

The challenge this month is


to include in your project...
* Having Fun
* Frames
* Flairs

Here is what I have come up with...


As I said, this month I have been able to play with the 
awesome products from Cocoa Vanilla. 

The collection is called 'Made of Awesome' A fantastic boy range but also has enough in it to use it for many different themes and occasions.
I have used the gorgeous Made of Awesome Lucky Charms which are gorgeous little cameras, the Die Cut Ephemera, the Wood Veneer, the Flair Buttons and the Enamel Dots throughout my layout.

Here is a close up of the Lucky Charms and the Wood Veneer products.


Here is a close up of the Flair Buttons, the Enamel Dots and one of the frames from the Die Cut Ephemera.


I have included 'Having Fun' in my layout in a few different ways.
1) Cousins just have fun no matter what they do.
2) I have highlighted the word 'Fun' in the Wood Veneers.
3) I have used the words 'So Much Fun' in the patterned paper behind the photo.

Of course as you saw above I have included a Flair Button. 
The 6 that are part of the Made of Awesome collection are just so awesome...check them out...

The final part of the challenge was to use frames. 
I have used several frames from the Die Cut Ephemera pack.
I have used one to frame a little journalling space.
I might also be able to get away with the film reel as a frame...


I have also used one to frame the Flair Button.


So there you have my first post for the month of July. I hope that you have been inspired in some way by it.

Don't forget that all of these products are available in store at Scrapbookit. You can head to the online store or email Jo @ joanne@scrapbookit.com.au if you can't find what you are looking for.

Don't forget to get working on your challenges and get them in to be in the running to win a prize from the Scrapbookit Store.
Looking forward to seeing your creations.

Make sure you pop back and see what is happening here throughout the month.
I know I have a few more things to share.

Happy Scrapping,

Melx

Thursday, June 25, 2015

Something a Little Wild...

Hi Everyone,

Mel here! Yes for this post I have something a little wild to share with you.
Wild? You might ask....yes wild!
Wild in the sense that my layout is created around a photo of a part of an animal.

Not a traditional subject for a scrapbooking layout. But definitely a photo I would like to share with you all and with those who look in my albums in the future.

This photo is special because my son took this for a photo competition at his school.
He has since told me that it isn't "his best" but I just love it.
I love it because I think he has done a great job with the photography but also because it is a photo that symbolises him a little. He loves chooks and he is very heavily involved in the school sustainability program, which involves caring for the chooks and the other animals (goats, cows and sheep).

Here is my layout...


This month I have been lucky enough to be using the Kaisercraft collection 'Into the Wild'

As you can see I have started with a piece of Kraft card. I decided that I really didn't want to detract from the photo so I added some small amounts of the following 
sprays and mists:
Kaiser Mists - Antique Gold
Tattered Angels Glimmer Mist - Brick
Dylusions - Ground Coffee

Instead of spraying them the conventional way I decided I wanted smaller, more solid drops so I undid the top and dropped the ink on the page. The antique gold I did spray a little more though.

Here are some close ups of the spray.


Then I have used small circles of the patterned papers for the rest of the layout. I have also used a small rectangle of one patterned paper...


I used some Kaisercraft Alphas for my title 'Up Close & Personal'


Here is the last close up...
You may not have seen but the Kraft card and all the little elements have been inked using the Tim Holtz Distress Ink - Walnut Stain.


Well I hope you like my little creation for this week.
I really am very happy with how it turned out.

Have you entered a layout into our challenge this month?
Have you seen our challenge?

It is so easy to follow...all you need to do is include Animals, Arrows and Adventure into your project.
You have until the 30th to get your entry in to Jo.
Either use the Inlinkz (on the blog - right hand column) or email to Jo (joanne@scrapbookit.com.au)

Looking forward to seeing your entries.

Until next time,

Mel x