Pages (Click Here to Visit)

Showing posts with label Magicals. Show all posts

Saturday, November 25, 2017

Good morning Everyone!

I'm here today to share my next project using Kaisercraft's Rose Avenue.

But before I do...Have you entered our November challenge?
This is a chance for you to win a prize pack of scrapbooking goodies and all you need to do is send in a photo of your creation.
On your project, you need to use three things beginning with S 
and the quote 'Live Life in Full Bloom'
You have until the 30th of November to send your photo to us. Go on...you can do it.

For this post, I haven't followed the challenge guidelines. However, I have used the gorgeous collection by Kaisercraft 'Rose Avenue' again.

I have started with the 'Rose Window' page as my background.
Here is my layout...


 I added some Dylusions Paint - Rose Quartz. Then I used the template 'Damask Quarters' by Kaisercraft and some Colour Blast Paste - Snow White around the background.

I added some very subtle stamping using the Texture Stamp Windsor by Kaisercraft. I used Dylusions Paint - White Linen.

I used the stamp Background Script by Kaisercraft and some Desert Sand Memento Dew Drop ink randomly around the page.

I finished off with some splatters and thin lines using the Lindy Stamp Gang Magicals - Ramblin' Rose Pink.


I finished off cutting some frames and squares of the different papers and layered them behind and around the photo.
I used the Collectables in the Rose Avenue collection for my cluster of flowers.


I added a piece of paper that was die cut with the Kaisercraft Die 'Sari Texture'


The quote I used was from the sticker sheet in the Rose Avenue collection.

All of these products are available from Scrapbookit.
Have you seen our latest competition to celebrate our new store???
Head to our Facebook page to find out more.

Until next time,
Mel x

Friday, November 10, 2017

What a Start!

Well what a start to November for us!

Last Saturday Jo (Owner of Scrapbookit) married her partner of 21 years. Such a beautiful couple, a beautiful family and a beautiful love story!

I was so honoured and privileged to be Jo's witness. 
I truly can't describe the happiness that permeated through the ceremony ~ it was absolutely magical!

My favourite little snippet from my speech..
"What started as a position on Jo’s new design team has turned into many great times, thousands of laughs, road trips, many many retreats and the most perfect part a very very special friend who I am so blessed to call my friend and have in my life."

Congratulations to Jo and Andrew!
May your lives be filled with much love and happiness!

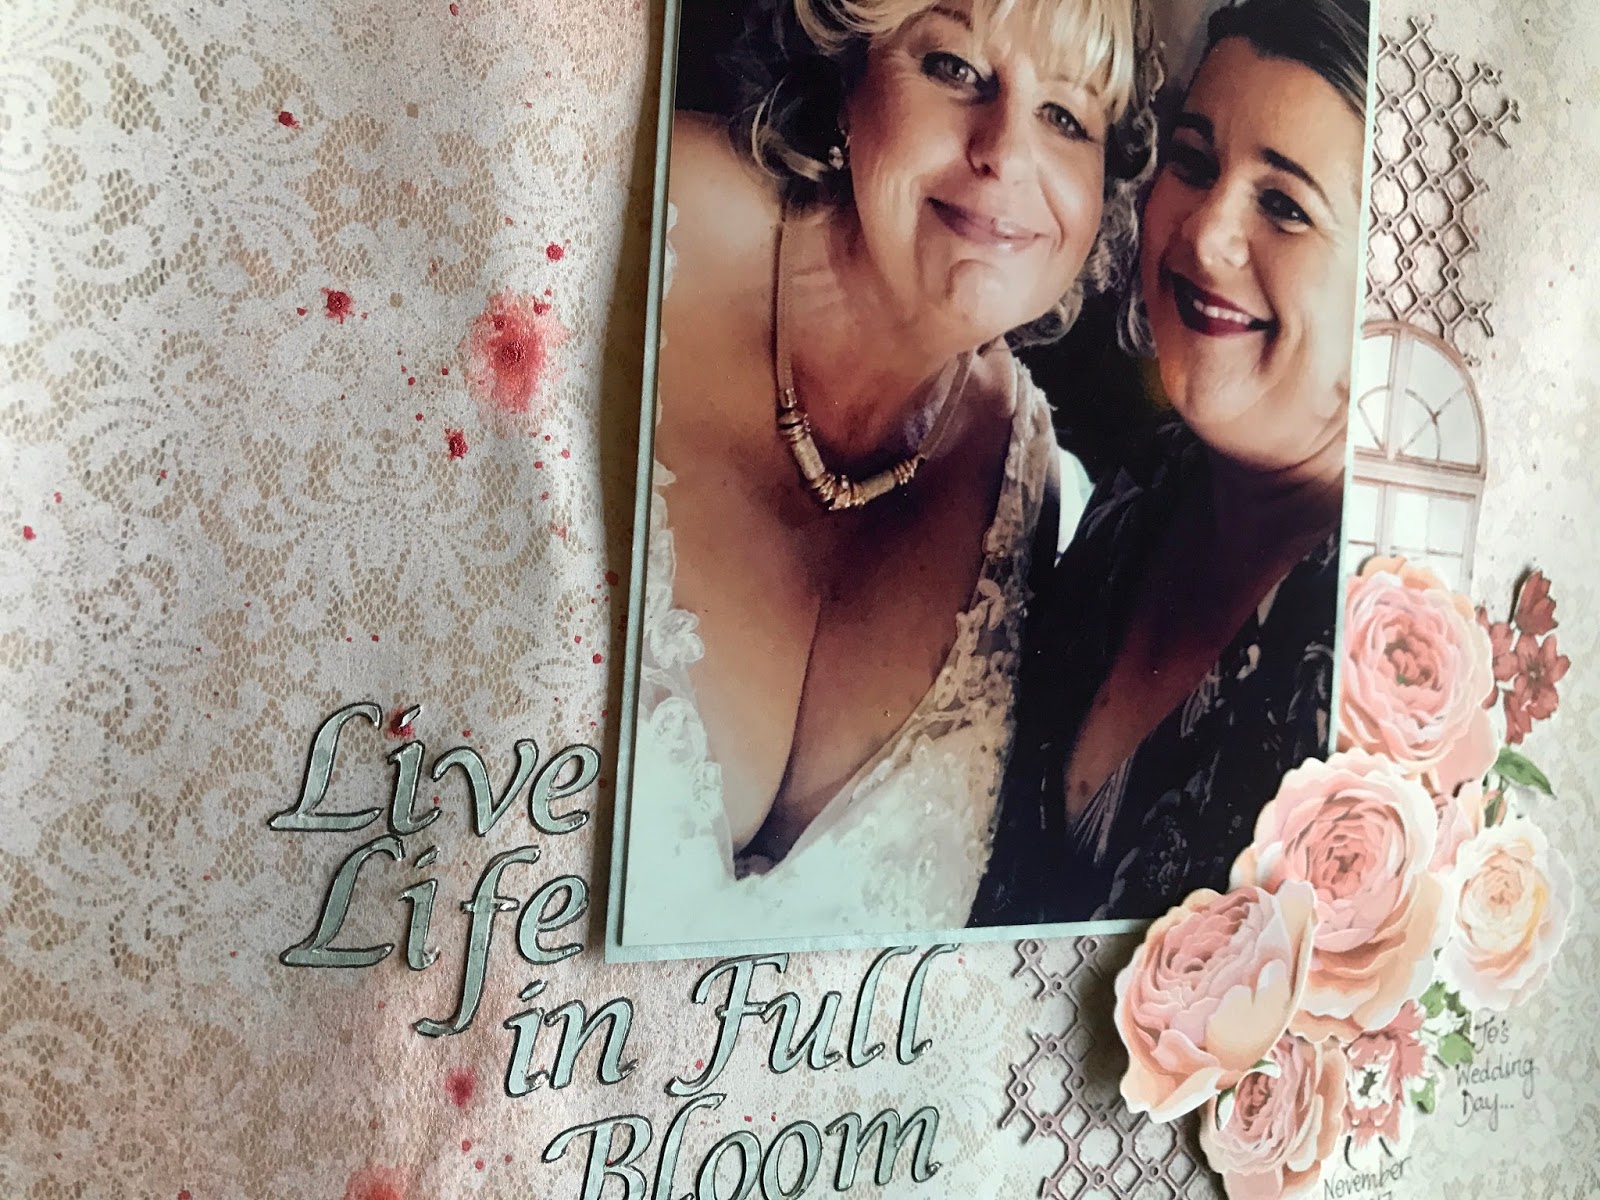
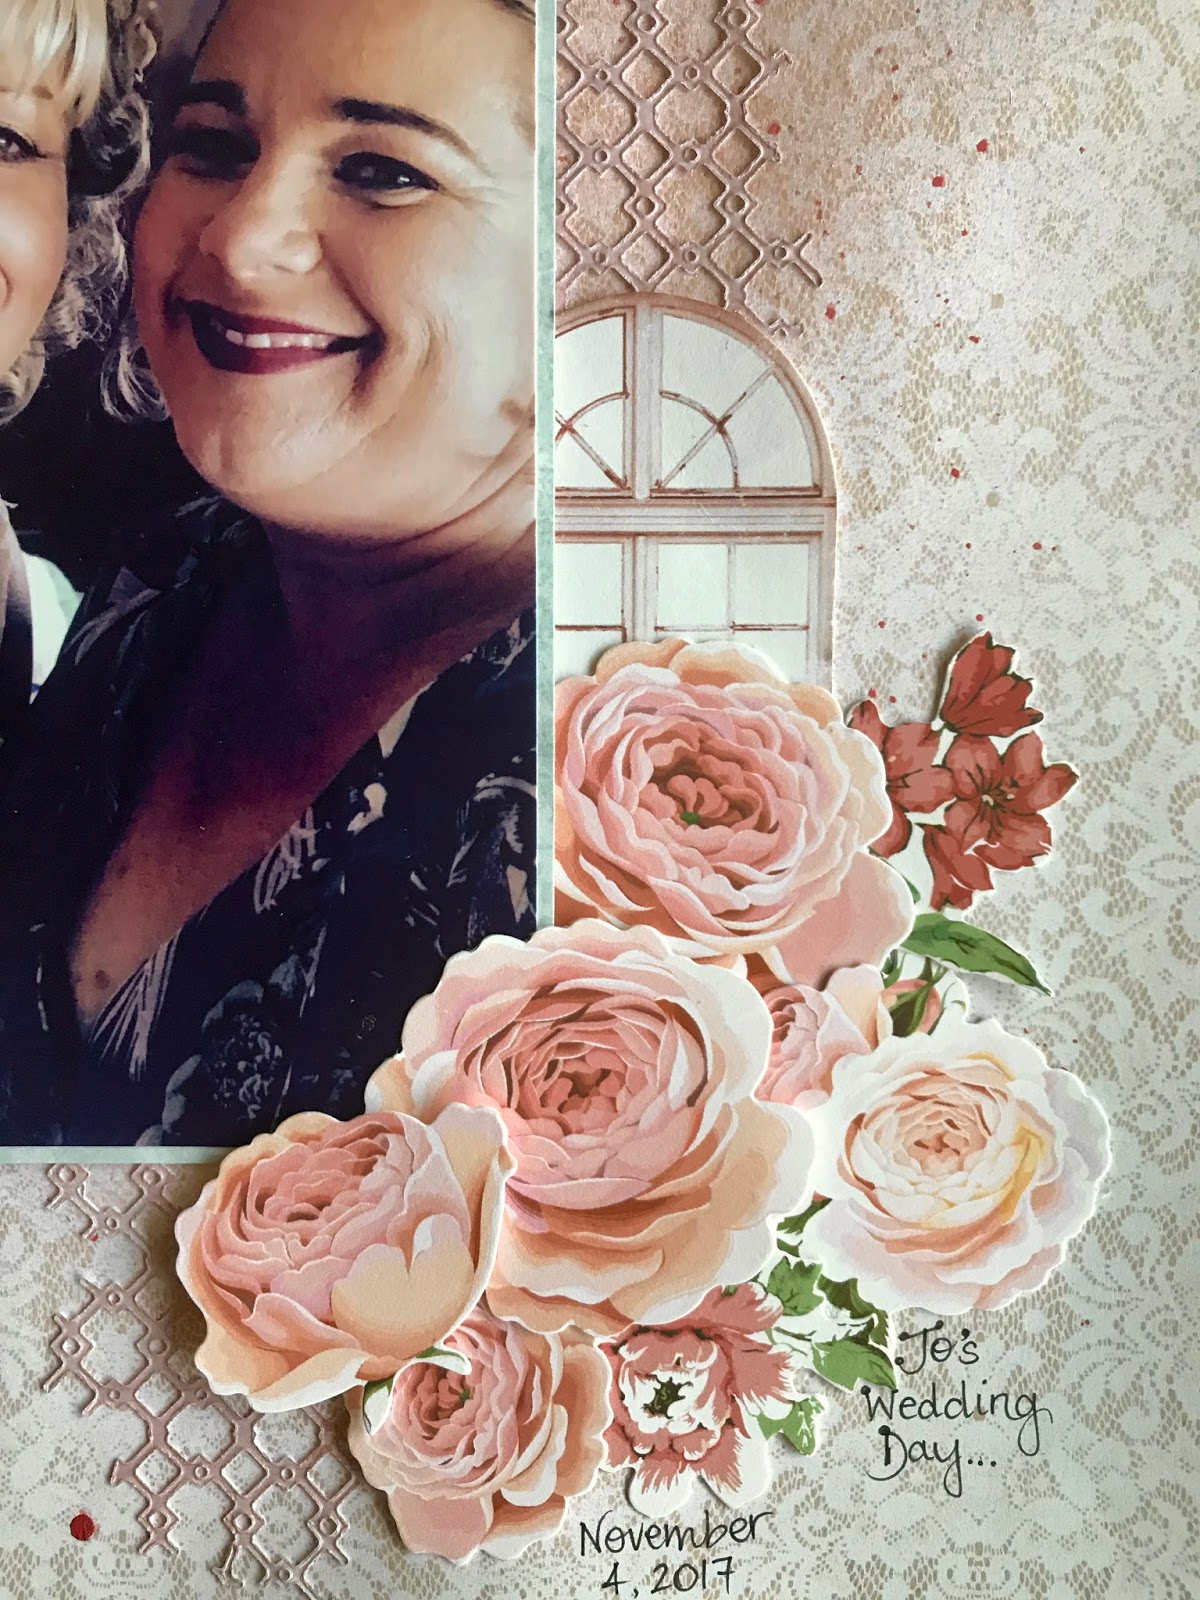
I couldn't help myself...I had to scrap my favourite photo from the day.
Taken prior to the ceremony when Jo and I got to spend some time... just us...calming each other as we tried to hold back tears of excitement!


Have you checked out this months challenge? Our lovely Jane has set it for us and it is a ripper! Include the quote
'Live Life in Full Bloom'
and include 3 things on your layout that start with 'S'


I have been playing with the Kaisercraft Collection 'Rose Avenue' for this month.
I used my Silhouette to cut out my title from the paper 'Rose Avenue'. Such a great quote! I lightly went around the letters to help them pop out from the background.


My three things (actually I have more) beginning with 'S' are...
*Spray - I lightly sprayed the background with 'Prima - Colour Bloom Spray Mist - Cotton Candy'
*Splatter - I splattered some of the Punch Colour Blast Shimmer Cube on the background as well as some Lindy's Stamp Gang Magicals in Ramblin' Rose Pink
*Shimmer Cube - Colour Blast - Punch
*Sari Texture - Kaisercraft DIY Cuts (diecut) - I love this die cut!!!!


I have used a heap of the Collectables from this Kaisercraft Collection - they are fantastic!

How cute is this little window??


I just love how this turned out! Have you heard that we have a new website??? It is still developing however..
Don't forget our massive giveaway running this month, all you have to do to be in the running for a super prize pack is:
1. Visit and send us a comment at the new website www.scrapbookitshop.com.au
2. Leave a comment on any of the posts here on the blog during November.
3. Bonus: If you comment and follow us on our Facebook page www.facebook.com/scrapbookitshop
Good luck and I look forward to seeing your creations shared with us for this months challenge!!!!

Melx

Friday, August 25, 2017

Something Out of Left Field!

Hi Everyone,

I am here today to share the last of the Design Team posts for this month. 
The months are going by so quickly. It is a little scary really.

Anyway, I have been creating with the gorgeous Photo Play - French Flea Market designed by Julie Nutting. This collection is just gorgeous.
I used it to create this card...


I have used the patterned papers and the stickers. I have elevated some of the stickers using some foam tape to create some dimension.

I have also created another layout which is a little different this time round.
I have again used some of the patterned papers from the French Fea Market collection. I have chosen the more neutral and cream/bone coloured pattern papers and created the background to suit the photo.

Here is my layout...


To create the background I have used a variety of products including the Colour Blast Royalty, Lovely Lilac and Rose Petal Shimmer Pots, KaiserMists in Winter Grey, Blackberry and Wisteria, the Sweet Violet Purple Teal Magicals, Colour Blast Velvet Shimmer Dust, Colour Blast Royalty Embossing Powder, Dylusions ~ Ink Spray ~ Slate Grey.

I finished the background by adding some of the Cosmic Shimmer Pixie Powder in White Pearl. This is very cool. It is, however, very hard to see in these photos. It leaves the background with a gorgeous pearl shimmer. A nice effect! 


I have also used some of the Kaisercraft Clear Doilie Stickers. I love how they have come up on this layout.


A few flowers from the collection to finish off. 
One of the flowers is a coconut Kaisercraft Paper Bloom which I have used the Royalty and Lovely Lilac Colour Blast Shimmer Cubes to colour it.


Here are a few close up photos of this layout...


I finished up using a few Kaisercraft Clear quote and word stickers.


Well, I hope that you have enjoyed exploring my layout. I definitely enjoyed creating it.

You still have a few days to finalise your entry for this months challenge. Have you got your entry in?
Be sure to get it in for the chance to win a prize pack from our store.

Finally, the...most....exciting....thing....this.....week!!! Eeeekkkkk!!!!
We have added a three night option to our retreat, which is coming up at the end of September. How can you resist that? A 3 night getaway, in the beautiful North East Victorian town of Bright and you can scrap to your hearts content. Have you considered joining us???

Looking forward to hearing your comments on this post...I am not a frequent user of purple, so would love to hear what you think of my attempt to embrace something new. Leave your comments here or on our Facebook page.

Have a great day!

Mel x

Thursday, October 30, 2014

Product Spotlight

Hi Everyone,

Mel here to share with you a new product on the shelves!

I have been having a play with this product and I have fallen in love with it!

It is so easy to use and it is so vibrant with stunning colour!

The product that I am spotlighting today is

MAGICAL
Bachelor Button Blue

By 
Lindy's Stamp Gang

Magicals are a unique product containing a powdered pigment stain that activates with water, with a burst of mica shimmer for ooomph!!
(Taken from the Lindy's Stamp Gang website)
The Bachelor Button Blue is a rich and vibrant blue with a soft blue shimmer.
Magicals come in a variety of colours.
I have been experimenting to see the different ways the Magicals work...whilst having lots of fun! 
Below I have shared some of the ways this product could be used...
1. Straight from the jar
Using a wet paint brush dip the brush into the powder and then add it to your project.

2. Add the powder to other mediums

Here I have added a small amount of powder to Mod Podge and Texture Paste.


3. Use Magicals with your stamps

Here I put Versamark Watermark Ink on my hexagon stamp and then took a dry brush and dusted the Magicals powder over the stamp. I then stamped it into cardstock.

The other one below and the one above I added water to the powder on the stamp. It also started to react when I began to wipe the powder with baby wipes.


For the following image...I used a stamp and the Versamark Watermark Ink and stamped the image onto the cardstock.
I then took a dry brush and some powder and brushed it over the stamped image.


4. Magicals as water colours
Add a small amount of powder to water and use this like a watercolour paint. The darker parts are where the powder has come back together and sunk to the bottom of the water.

5. Add a small drop of water to some powder to make a paste.
I have then painted this paste onto the card and then stamp an image over it.

6. Magicals and Baby Wipes
When cleaning my clear stamps with baby wipes I just happened to stamp the baby wipe onto the cardstock...to come up with this gorgeous effect.


These are just some of the ways that Magicals can be used. I am sure there are millions of other ways.
This product is so fantastic and such a great product for so many different projects, especially mixed media projects.

Thanks for stopping by today and checking out one of the latest products around.

I hope you got your challenge in...

Until next time,

Mel x