Pages (Click Here to Visit)

Showing posts with label Darkroom Door. Show all posts

Thursday, November 15, 2018

Art Fun


Good morning and welcome back to Scrapbookit.

Well I'm not sure what's happening with our weather but it's been a bit chilly and damp here in Bright, I guess it is Spring.

I am back today to share a couple more projects I have created using the Creative PL paper pad that the team is working with this month.


For this layout I have used a couple of the papers that featured hearts. I then have used some Nuvo mousse with a KinderKreations stencil to add these super paint brushes to my background.
I have stamped a Darkroom Door stamp and added a sizzix die. I cut my title on the Silhouette to finish off my page. 
I love these photo's I get of my beautiful grandaughter  while she is playing and having fun at child care.


'Selphie'


Well as much as I struggle working with photo's of myself I can see it is important for my family to have these in our albums.


I did have fun using my new Hot Foil Stamps from Couture Creations adding some shiny flowers to my background and different colours to my title chipboard from 2Crafty. I also added some Nuvo Mousse through a Prima stencil to add some more flowers.

That's it from me this month but the other team members will be back later to share some more projects to give you some great idea's to get your photo's scrapped.


Don't forget to get your entry in for this months challenge you could be in the running for a $30 voucher . We really need lots of entries in by the 30th November.


Happy Scrapping

Jo.

Monday, October 1, 2018

Get Outside and Explore


Happy October Everyone!

A new month, a new challenge and the start of retreat month for us here at Scrapbookit! 
It has come around so quickly!

Today I'm here to share with you our new challenge.
All you need to do is create a project to the challenge requirements for your chance to win a Scrapbookit Shop voucher.
So here it is...

OCTOBER CHALLENGE...

Use the PageMaps sketch (below)

Think Nature

Add texture, stencil/template, chipboard and circles

Image may contain: text

Here is my take on the challenge...


I received one of the new Kaisercraft collections 'Mountain Air' to create with this month. This is a great collection for those of us who have photos of the great outdoors!

Image result for kaisercraft mountain air

The collection pack has some great patterned papers, a paper pad and a great sticker sheet for embellishing. There were so many options I could have used for this layout...and so many possible layouts from camping, scouting and fishing!
I decided to use some photos of my son on a Scout Hike.

I started this layout by creating my background. I used a piece of Snow White - Ultimate Crafts cardstock. I chose to use the non-textured side of the cardstock for a smoother finish.

I used my watercolours randomly around the cardstock to create what I was hoping to be the patterning that sometimes you see on the trunks of trees! I honestly think I just made a mess...but as you know...The beauty of mixed media, you can add some more and make it work!!

So I decided to use an older Kaisercraft template from the Flora Quarters 12 x 12 template that is like a tree/wood pattern....with some Art Alchemy Acrylic Paint ~ Metallique Steampunk Copper.

I then added my texture element of the challenge with some Tim Holtz Distress Embossing Powder ~ Vintage Photo through a Darkroom Door Stencil ~ 4.5" x 6" Circles.


To remove the stark white background I have used both Walnut Stain and Rusty Hinge ~ Tim Holtz Distress Ink. At this stage, I wasn't so sure this was what I wanted for this layout...but I soldiered on to make it work!

I thought this layout was a great one for an event like this hike...none of the photos were ones that I would necessarily use as individual photos...but they work together! I love using up some photos on one layout!


I have used the patterned papers to back the photos...I have raised the two photos of my son...so that they feature.
I have used the compass from the patterned paper and created a circular feature for the top left corner...I distressed the edges and used Colour Blast Shimmer Cube ~ Leather around the edges rather than an ink. I backed the compass with a thin border of the green pine patterned paper to complement the green of the trees and the tents in the photos.


I used my Silhouette Cameo to cut a bracket frame shape for behind the title and also for the date tab in the bottom right-hand corner. I used Kaisercraft Alpha Stickers ~ Black for the date.

I cut a lined index card into a circle for my journaling card. I added some Colour Blast Shimmer Cube - Leather around the edge. I was a little disappointed originally because the shimmer cube left a watermark as well. However, as I inked the card with the Tim Holtz Walnut Stain Distress Ink I realised that this gave the effect of the layers in a tree trunk. I love how it turned out.


I fussy cut a wood grain, tent and little pine trees from the patterned paper to embellish my layout. I also used a compass die cut from the paper pad to complement the red in my son's hike pack. I used a clear compass embellishment from an old Kaisercraft collection, Pack Your Bags. I added a word 'Adventure' from the Mountain Air sticker sheet behind one of the photos. 
I added some brown cotton and some wood grain washi tape behind the Dusty Attic - Get Outside and Explore title.


Well, I hope that you have enjoyed reading the process of creating this layout and it gives you the inspiration to join in this months challenge and create a nature-themed project!

You have until the end of the month to enter our challenge...you can enter via our Facebook page @scrapbookitshop; via our blog link (in the right hand side column) or by emailing Jo joannecaird@gmail.com

Look forward to seeing your creations!!!
~Melx

Monday, September 10, 2018

'Love'


Good Morning

Welcome to Scrapbookit and our Spring challenge set by Jane this month. 
Quiet often our DT girls set their monthly challenge before they get the monthly kit that they work with, so when I looked at Jane's challenge I thought how are these criteria's going to work with the 49 and Market papers I had given out would ever work? As you have seen the girls have been outstanding in the projects they have created. I am so lucky to have them on my team.

So here is how I took on the challenge and created this layout.


I have used the 49 and Market 'Heirloom Botanicals' range and fussy cut the bottom border raising it up with foam tape. For my  mixed media element I have added the circles from a kaisercraft stencil and sprayed several Heidi Swapp sprays in the background. I also blended some Distress Oxide inks through another stencil to give the flower images.


To create my title I have cut the word using a We R Memory keepers Mini Alphabet punch board and then stamped over the letters with a DarkroomDoor Music stamp.


These beautiful lace butterflies are from Uniquely Creative and I have just coloured them with sprays. The stickers I have used are from the Amy Tangerine sticker book.

So let's see how you create with Jane's challenge, entries close on September 30th so still time to get your 'LOVE' on the page. You can send your entry via email to joannecaird@gmail.com, add it from your blog to our Inlinkz tab or just upload it to our Facebook page.


Have a fantastic weekend

Jo 

Saturday, August 25, 2018

You're Out of this World

Goodmorning Mel here to share another couple of projects for this month's challenge!

I have LOVED using this Echo Park - Imagine That paper collection.
And for someone who isn't a fan of green I have definitely challenged myself with the two layouts I have to share with you today!

I have continued with the challenge requirements today ~ Get inspiration from the word 'Imagine'!

Here is my first layout...


I started with a piece of Coredinations cardstock in Navy. It has been a while since I have used anything other than white.
I watered down some white acrylic paint and splattered it around my background to give it a "spacey" effect.


I layered blocks and strips of patterned paper to create this page ensuring that I kept the words 'Imagine' and 'Super Hero' in the green paper exposed. I have elevated the photos and the "You're Out of this World" journaling card.


I love everything about this paper collection, however, my two favourites are the element stickers and the featured journaling cards. These cards are so easy to use and are a quick and easy option for creating featured sections on your project. I am not a big 'Project Life' creator but love using these as features on my layouts.


I finished my layout with some element stickers and some white gel pen borders and journalling. I love how this layout turned out in the end!

When creating this layout "You're Out of this World" I had some other great photos of this same time that I wanted to use however I didn't want to create a 12x12 layout...so I tried my hand at a 9x12 layout...


I started with a wash of the "Fresh Lime" Dylusions Paint on some white cardstock.
I then used some Art Alchemy Acrylic Paint "Metallique Rusty Red" through the Darkroom Door Small Stencil "Arty Hexagons" randomly around the background.


I layered some of the gorgeous Echo Park "Imagine That" papers.
I have used one of the journaling cards from this collection which I have trimmed to use as my title 'Awesome'.
I have a couple of other words...possible subtitles...Love This - a Kaisercraft Wooden Embellishment from the 'Today' pack.
I have also used the "Imagine That" which can be found on the edge of the Echo Park paper collection papers.


I also added some American Crafts Remarks Alpha Stickers 'Playtime' from my stash to create the journaling on the page.

I finished with a hand-drawn border and some script writing.


I hope that you have found some inspiration from my projects today. All products featured can be found at Scrapbookit
Only a couple of days to get your entry in for this months challenge ~ what would you spend your winning voucher on???

Have a great weekend!
~ Mel ~


Sunday, August 5, 2018

Imagine!

Good Morning!
I have a ripper of a layout for you all to start the month off. In following Jo's challenge which is anything to do with the word Imagine. When I heard what the challenge was going to be I just knew that I had to use this picture of my daughter Rahni taken whilst we were away in QLD recently.

I have made a very busy layout with a lot of products BUT I am very happy with the final result and I think it all works!
 Here's my Layout.

To begin I used some Kaisercraft white cardstock, using the packaging technique I have used some Dylusions Rose Quartz and Bubble-gum

Pink ink spray which I randomly smooshed (haha is that even a word) all over the page, I then used a Darkroom Door Arty Circles stencil with some Dylusions Peony blush paint and randomly placed these circles over the top of the ink. Some splatters of Tim Holtz Tarnished Brass Distress Spray Stain and also some of the Heidi Swapp Mint Color Shine and my background was finished.
 

The paper I have used behind the photo was Echo Park Imagine That, I randomly cut circles out freehand and glued them mostly just in the middle part of the page. I added some doodles over the top of some of the circles and around the edge of the page.


How cool is that striped Washi I have used sporadically around the page? its kind of hard to see but it has the cutest little gold pineapples on it. Just adorable. It came in a pack of four from Creative PL.


For my Imagine chippy which is from The Dust Attic I used some Ranger blendable dye ink in Garden Patina, I then added some Gold Metallic Gilding Wax over the top, I REALLY love the effect this has given the chippy.

To finish my Layout I have added some cute little hearts that I have punched with my tiny heart punch and added the quote up the top which I love and I think was very appropriate for the photo and the theme!


Thanks for stopping by
Janexx

Wednesday, June 20, 2018

Together Forever

Happy Wednesday everyone!!!

A special Happy wedding anniversary to my best friend! ❤️❤️❤️
20 years of marriage we celebrate today and appropriately enough both of the layouts I feature today are all about Jason and I!!!!

I will apologise upfront for the terrible photos of my projects. They are not great, however, the weather here over the weekend was miserable and didn't help with the photos!!!

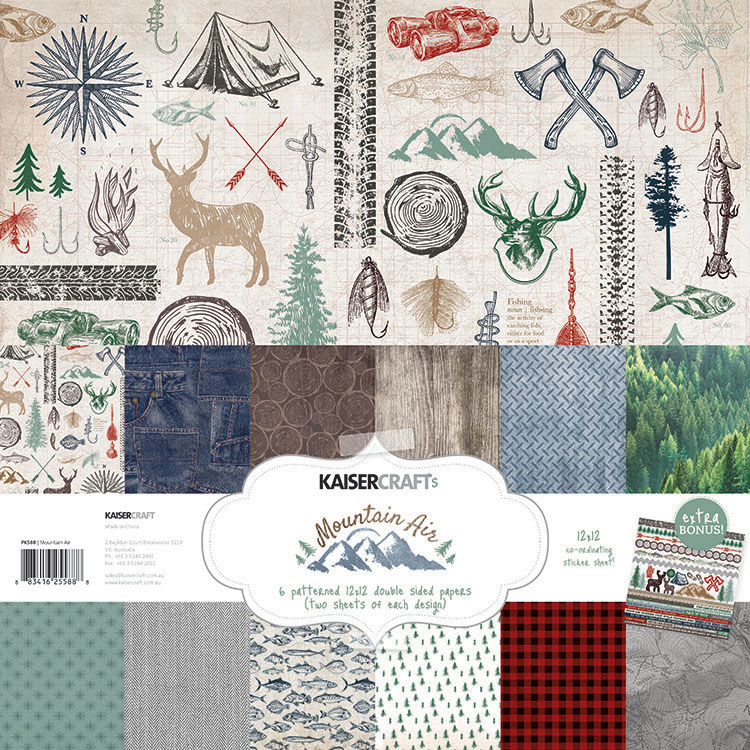
I have loved working with this gorgeous Kaisercraft collection this month, Stargazers. It is sensational!
When I first received it from Jo I was not sure how I would feel about it at all. I loved the colours but wasn't sure about the whole 'stargazers/space' theme to it.

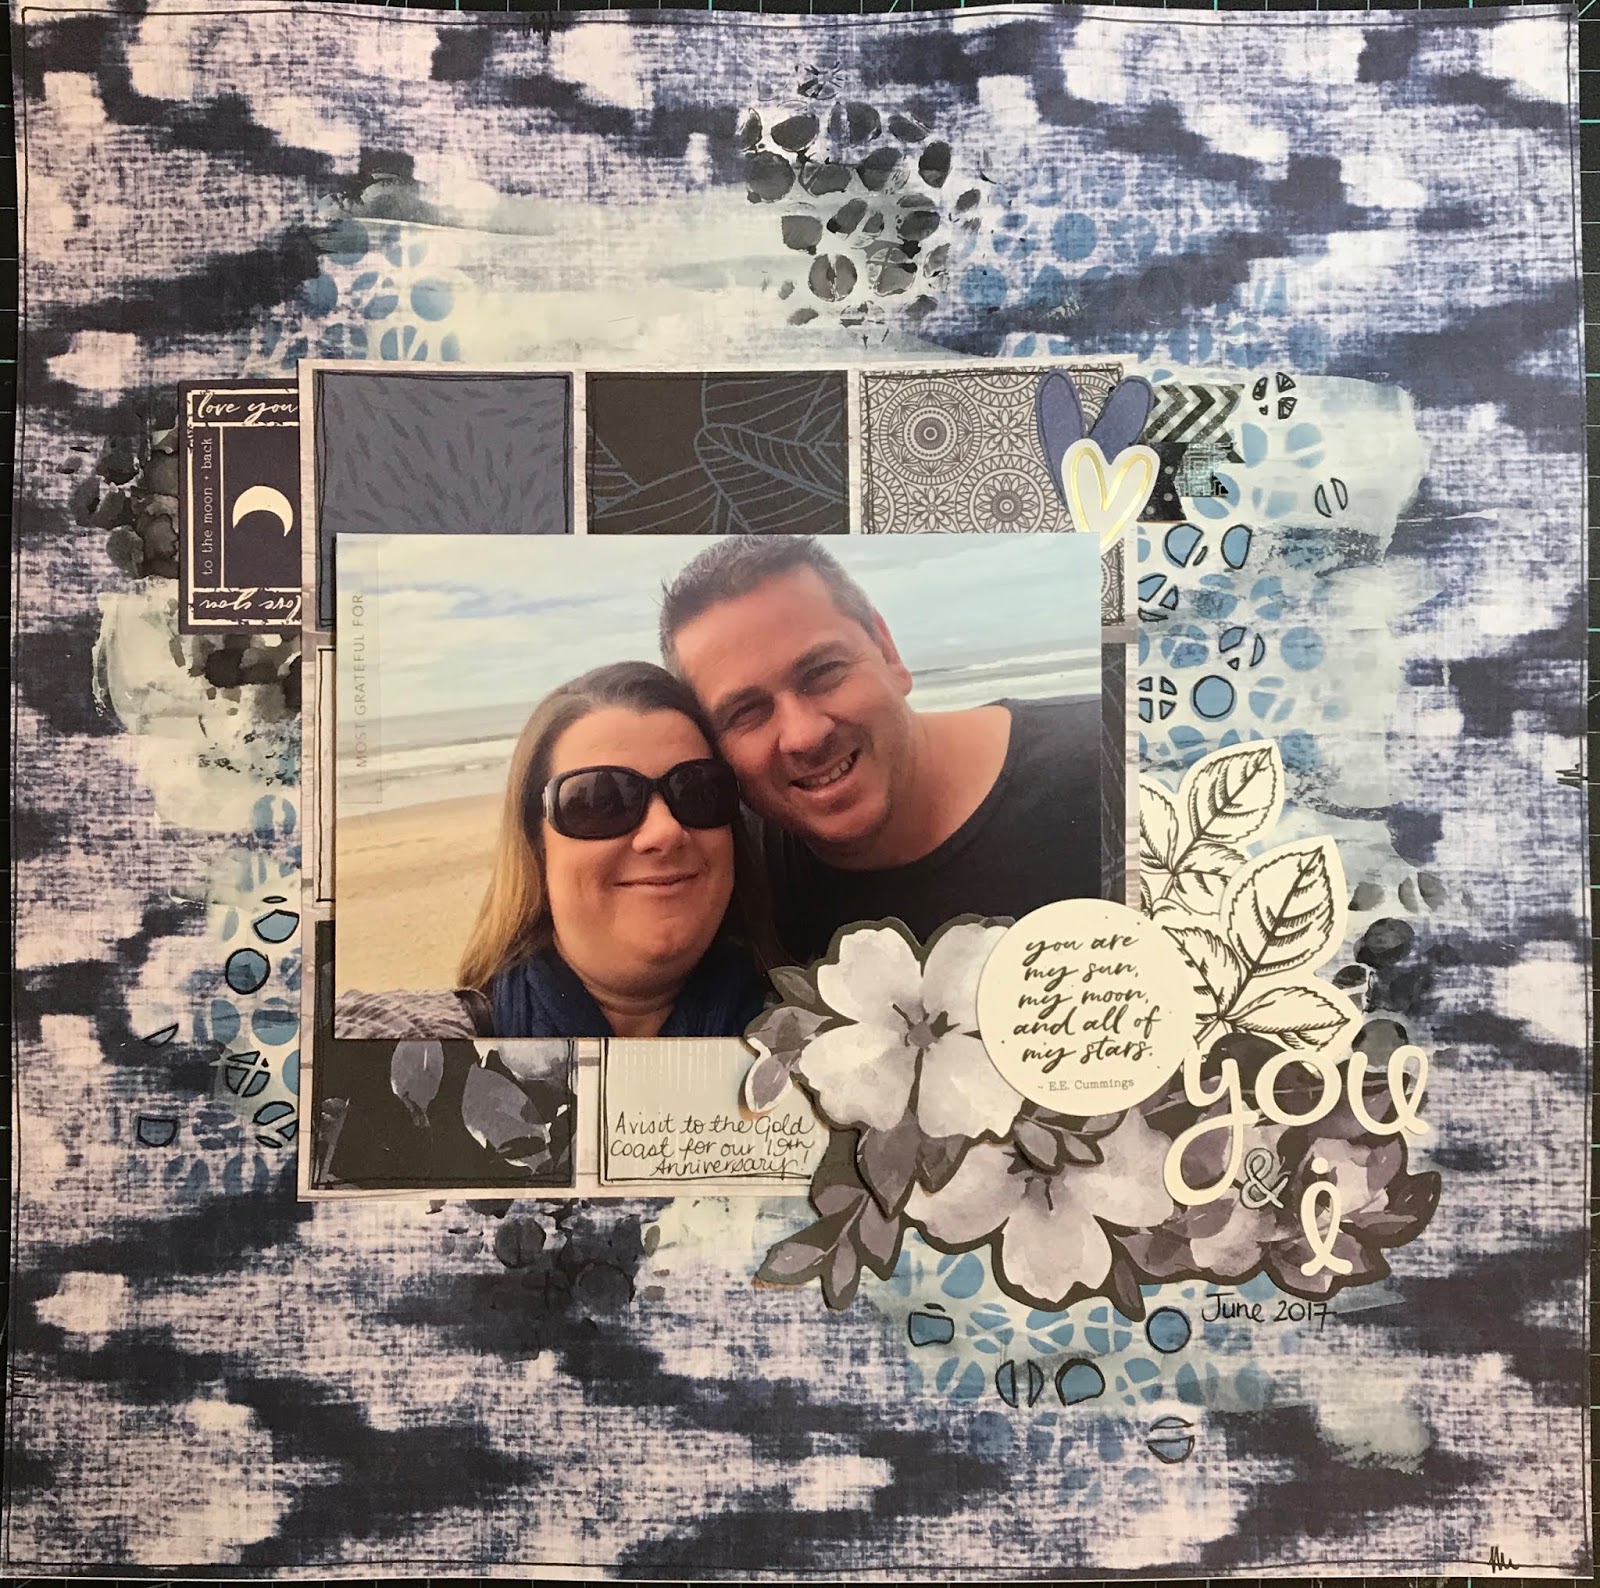
My first layout to share with you today is of the two of us last year for our 19th wedding anniversary!
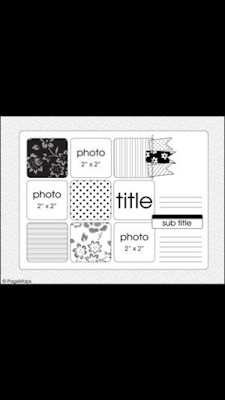
I have followed the challenge by using the challenge sketch and I have used two of the items...washi and stencils!

Here it is...


Whilst I used the sketch, I did make some alterations...only one photo!!!
Here is the sketch...


I have used a pattern paper from the Stargazers collection, gesso and distress ink with the cutest little stencil by Darkroom Door (Small Stencil) - Polka Dots


I added a variety of the patterned papers, some collectables from the Stargazer collection and assorted washi tape.


I added some gorgeous heart stickers from the American Crafts - Vicki Boutin - #Sticker Book.


My title is using the alpha stickers by Doodlebug - Loopy Lou. I think these were part of my stash and an older set of letters. I truly LOVE how this layout turned out and adore that patterned background paper.


I was at Scrapbookit over the weekend and I did spy some more Kaisercraft - Stargazers kits. Be sure to get in quick...I am sure you will love it!!!!

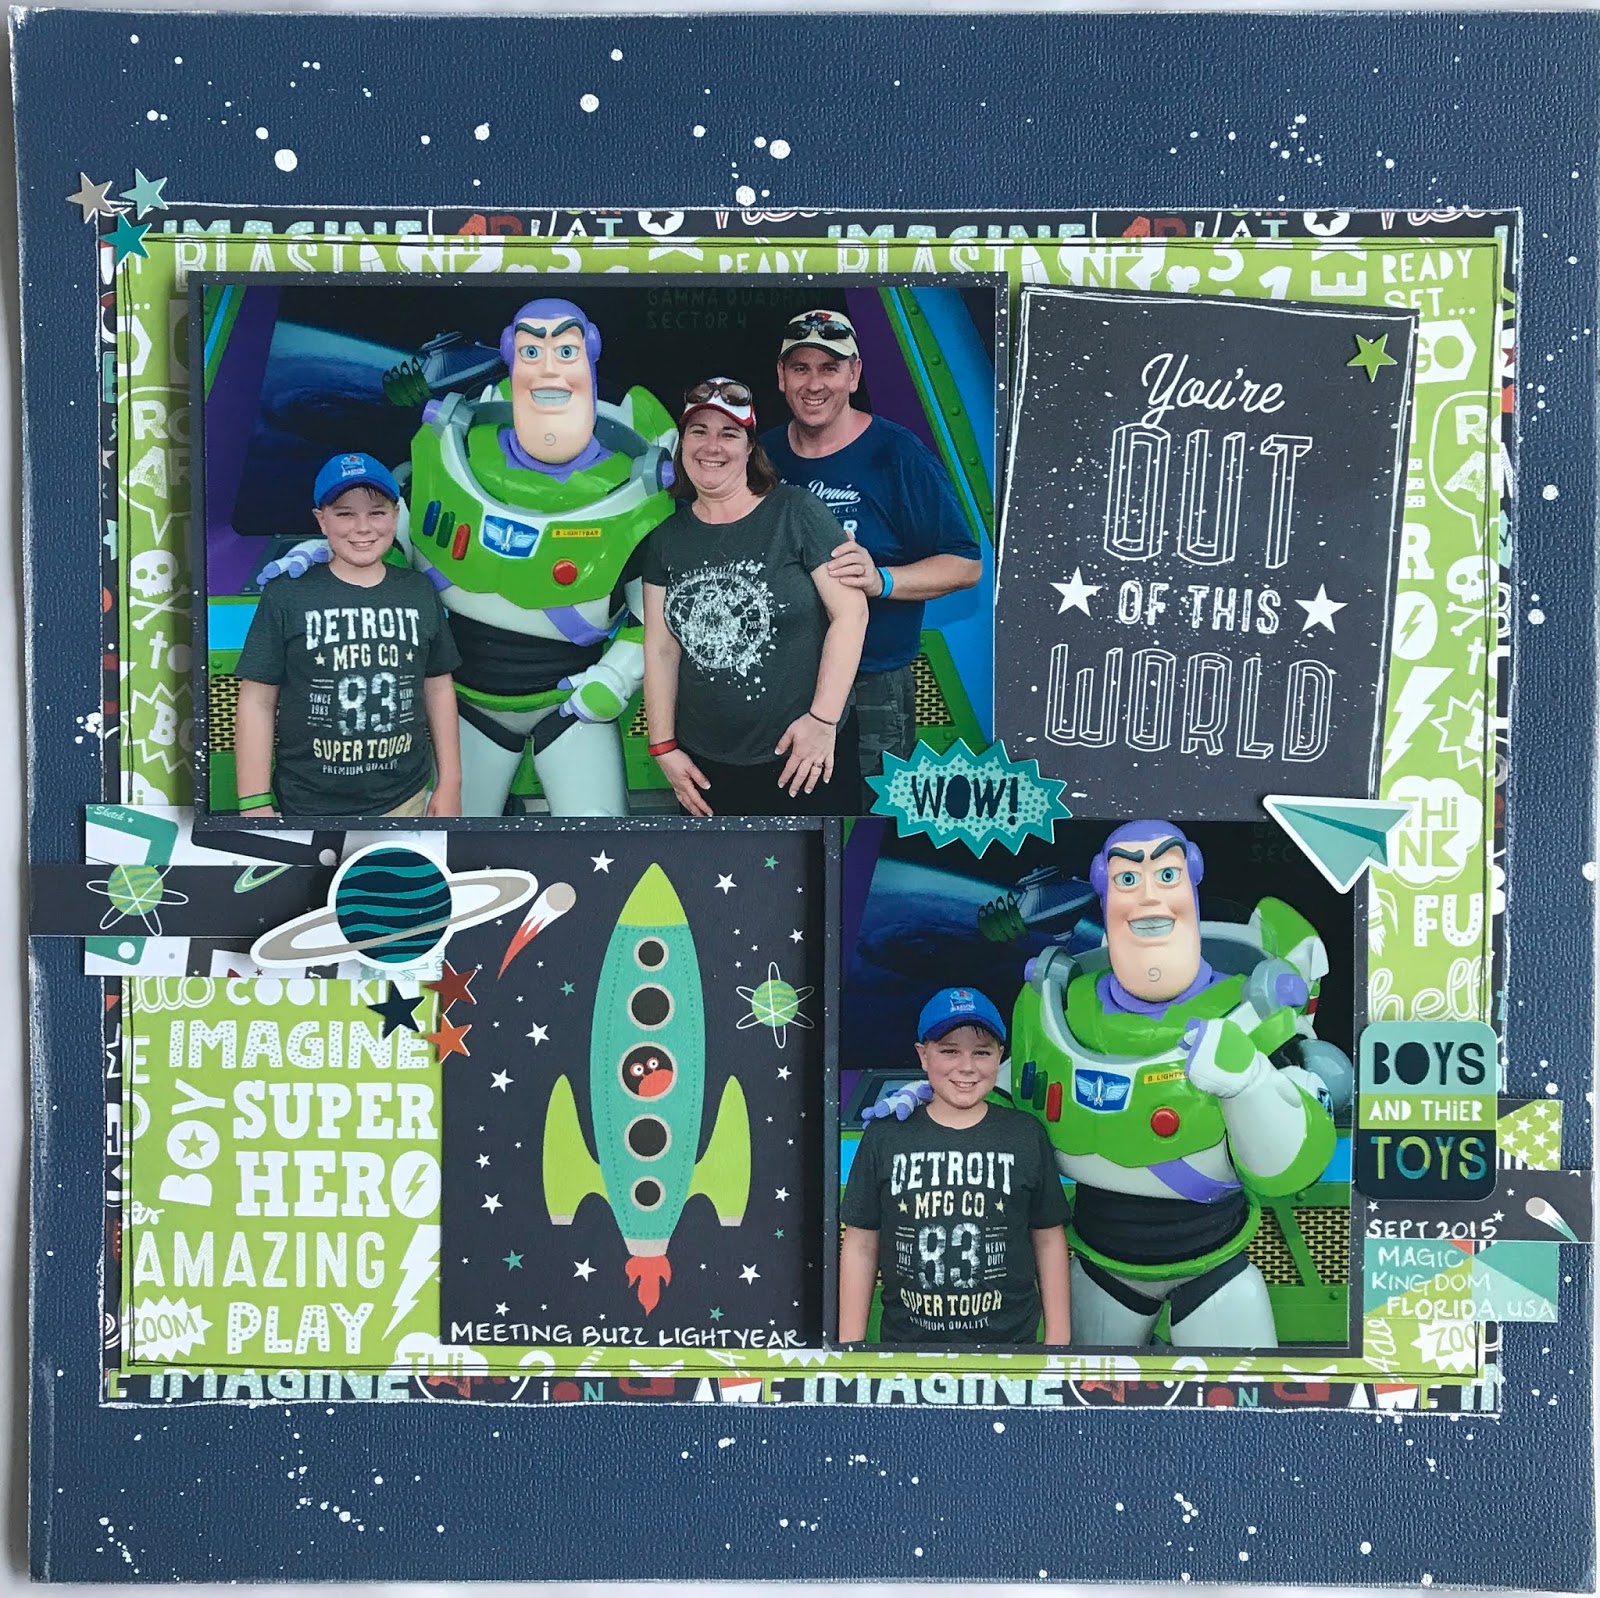
At our recent Scrapbookit Retreat, I also created another layout using the Stargazers collection.
I actually scraplifted Julie's layout (thanks Jules!)

Again, it is of Jason and I. However, this photo is a tiny bit older and was taken in 2010!


I started with a plain navy cardstock and applied some heavy gesso as well as some blue and black acrylic paint to create my background.

I added some of the patterned papers and a part of the large floral on the sticker sheet from the same collection.
I used two different heart stencils, the larger one Scrap FX Heart Confetti and Simon Says Stamp Falling Hearts Stencil, and some of the new Heidi Swapp Metallic Texture Paste - Silver. It is so fantastic to use! Easy to apply through the stencils and dries nicely.

I also painted the random chipboard heart with the texture paste.


I used one of the 2Crafty Chipboard Word Circles Set 2 chipboard circles and added the word 'forever.'


I finished my layout by adding collectables from the collection and heart and arrow stickers from the American Crafts - Vicki Boutin - #Sticker Book.


We have some fantastic entries for the June Challenge. There is still time though for you to get your entry in and to be in the running to win a voucher to spend at Scrapbookit!

All you need to do is complete the challenge using the sketch and 2 or more items from the list - washi, watercolours, stamps or stencils and upload it to our blog or to our Facebook page!

Looking forward to seeing your entry!!
~Mel~

Friday, June 1, 2018

June Challenge.

Hello and welcome to our June Challenge, I hope you all have a fun time with this challenge, remember you can make it as easy or as difficult as you like!
So this month we have a sketch challenge which is just below, as well as adding two or more things from the following list, these being:
*Washi or Watercolours
*Stencils or Stamps.

For this Layout I have used the PhotoPlay My Imagination paper range, this range would typically be a boys range but because of the primary colours in it I have decided to use it with my children's first day of school photo's. I really love the end result and I can see I will be using this paper A LOT in the near future! Here is the Challenge Sketch.

Here is my layout.
 To begin my layout I have used my Ranger Gelli Print plate to create a background, I have used six different colours of the Dylusions paints and created an ombre type effect. I have then used a Darkroom door stencil over the top and then added some doodle marks over the top with my white Posca paint pen.


The little squares on the layout I have used an assortment of the patterned paper and I used quite a lot of the stickers that came with the paper pack. For the flags on my page I have used three different colours of Washi tape and some twine. To finish my layout I have added a white doodle border and some doodling around my patterned paper.
Thankyou for taking the time to read our blog, we cannot wait to see your entries for this challenge! All of the products used in my Layout today are available from www.scrapbookitshop.com.au head on over and have a shop.
Until next time Happy Scrapping
Janexxx